COM/NAV Radio
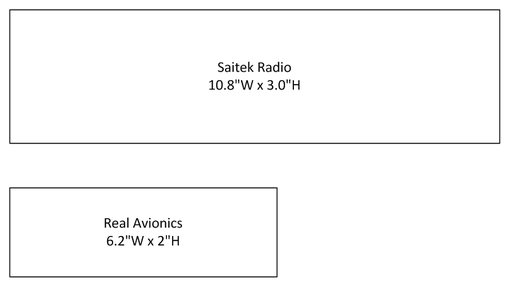
Late 2014 I got thirsty for a real COM/NAV radio. The Saitek Pro Flight Radio Panel is adequate, but is physically HUGE compared to the real thing. I want something much more realistic. There are companies that make them like Emuteq, VRInsight, Precision Flight Controls, etc - but with many at 600 euro or more EACH, and I want two, I was put off by the cost.
Last time I did any serious electronics work Ronald Reagan was president, but this sounded like a good project to get things going again. It was much more involved than I thought! Sourcing appropriate components, physical construction, Arduino coding and corresponding PC software to interact with the SIM - it took over a year (in spare time) to get a solid prototype up and working, and several more months to polish things up.
Overview
SIMRadio docs and code are NOT on this site
COM Panel (SIMCMP) docs and code ARE on this site
Late 2014 I got thirsty for a real COM/NAV radio. The Saitek Pro Flight Radio Panel is adequate, but is physically HUGE compared to the real thing. I want something much more realistic. There are companies that make them like Emuteq, VRInsight, Precision Flight Controls, etc - but with many at 600 euro or more EACH, and I want two, I was put off by the cost.
Last time I did any serious electronics work Ronald Reagan was president, but this sounded like a good project to get things going again. It was much more involved than I thought! Sourcing appropriate components, physical construction, Arduino coding and corresponding PC software to interact with the SIM - it took over a year (in spare time) to get a solid prototype up and working, and several more months to polish things up.
Overview
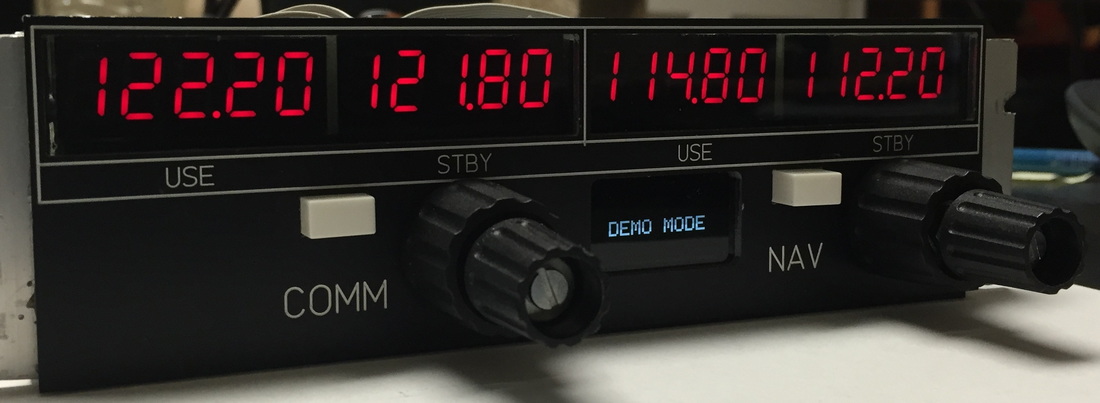
- A radio generally like ones in real planes such as Bendix-King KX-155 series
- Physical size like real aircraft equipment [6.25"W x 2"H / 160mm x 50mm]
- LED display, solid knobs and buttons
- Interact nicely with Flight Simulator
SIMRadio docs and code are NOT on this site
COM Panel (SIMCMP) docs and code ARE on this site
COM/NAV Radio: 7-segment LED
First order of business was to identify the right LED displays. I needed to fit four, 5-digit, 7 Segment LEDs in less than 6.25". On eBay, there were lots of "Arduino LED modules", these were the right concept but the LEDs were all great big fat things and no way to fit four across.
Fat five digit LED test model
I did make a prototype using two of the eBay modules just for practice, and to start building the Arduino and PC software. With basically off the shelf components I could make something happen that was very similar to the Saitek radio, except smaller footprint.
Youtube quick post 2015 Jan http://www.youtube.com/watch?v=8gRkdPEMFNY
Getting four side by side
It was tough to find the right size LEDs, finally did but had to order a quantity from China to get the handful that I needed.
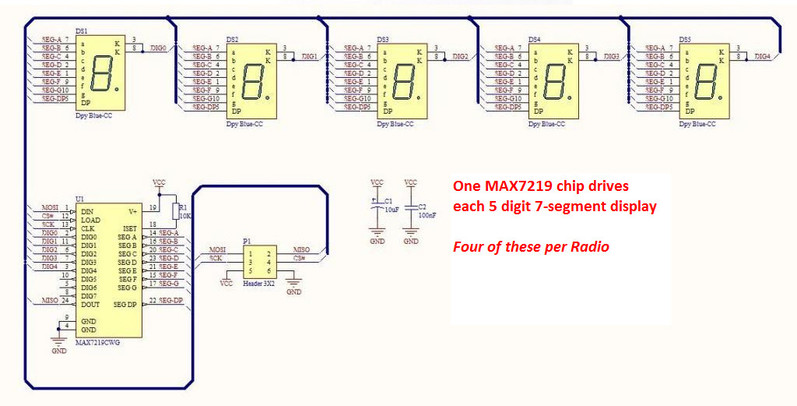
The MAX 7219 chips are indeed the best way to drive LEDs, and they do a great job conserving power. Arduino can source up to 200ma in total, if you consider each LED segment is 20ma, that would be 140 LEDs (7 segments x 5 digits x 4 modules), if they were all on at once it would draw up to 2.8 amps and the Arduino would be fried.
The Magic of the MAX 7219 chip: they "flicker" 800 times per second varying the LEDs that are on at once, making for excellent low power consumption. The chip takes care of all the heavy lifting and only requires minimal components. Even if light up all 140 segments (all 8's in 20 digits) I'm still WELL under 200ma!
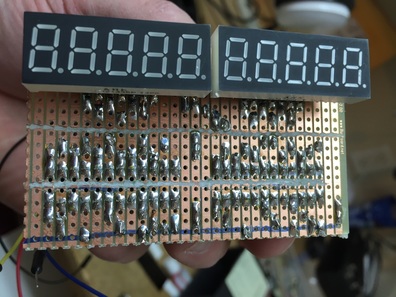
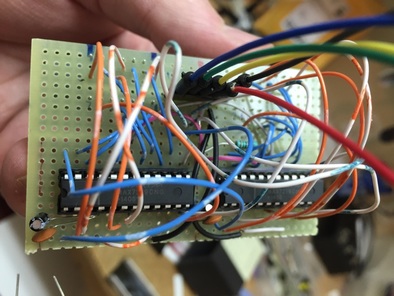
Prototype #1, hand wired board driving two of the four needed 7-Segment displays
And, yes, the LEDs plug into the back of the board...
The hand wired board worked. But, pretty obvious that rat's nest of wire is going to be hard to manage. Set about designing circuit boards for more "production like" capabilities, and I decided to "daisy chain" two together inside the radio for four total displays.
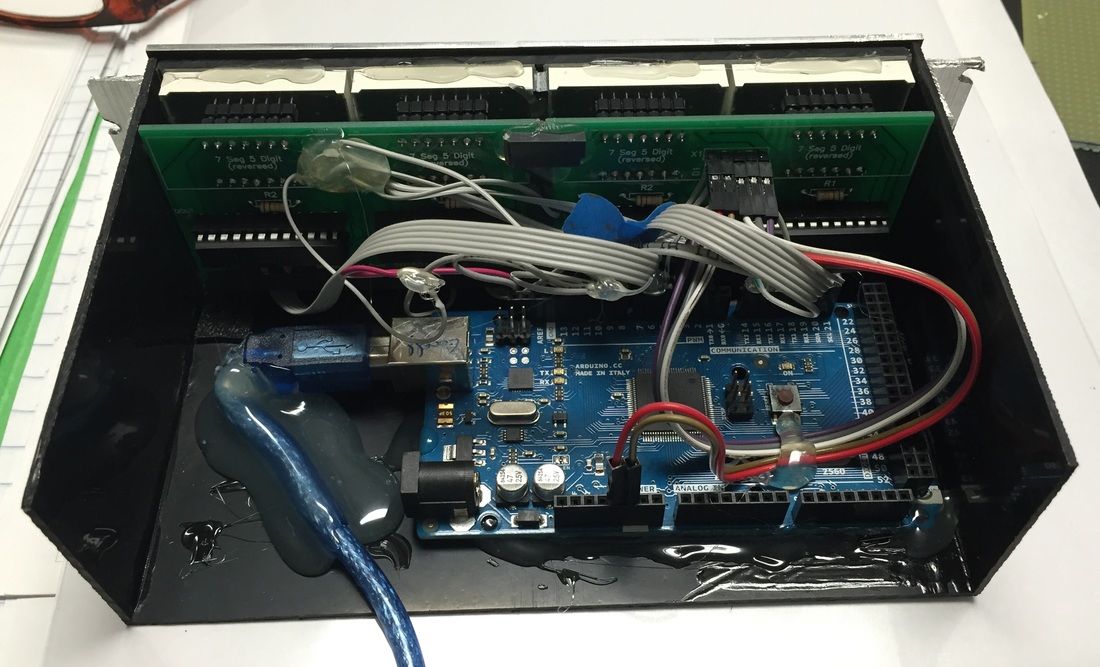
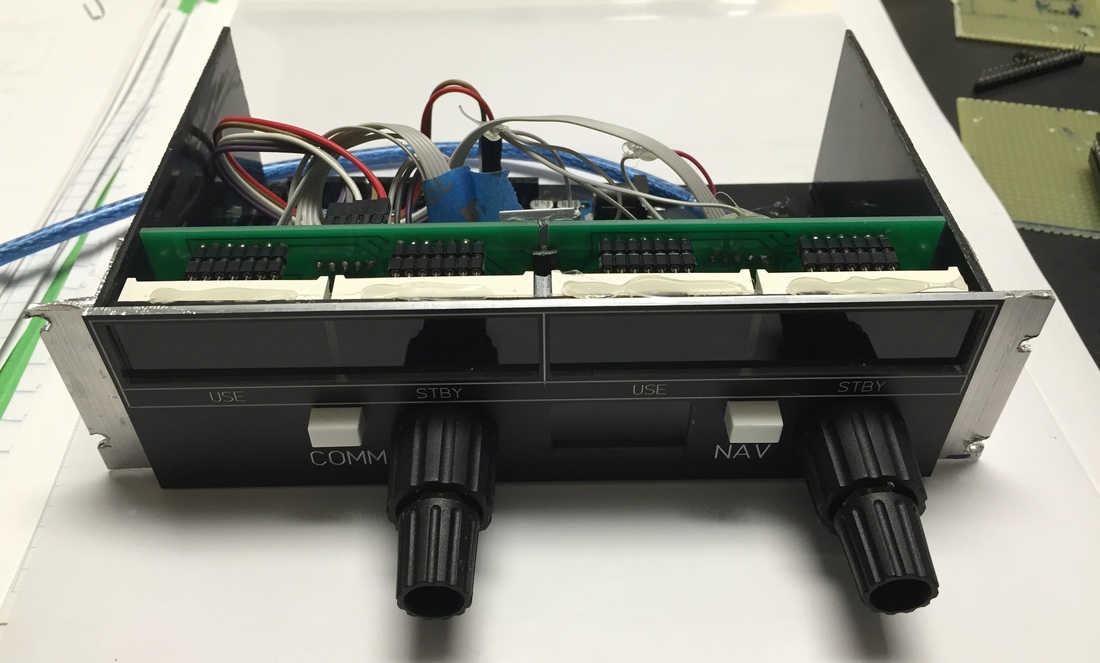
Skipping forward quite a bit... Completed boards mounted up in radio frame prototype. The white blocks are the LEDs facing forward. An Arduino MEGA is driving the system, and liberal use of hot glue to stick everything together. That prototype radio is still going strong 18 months later in the SIM, hot glue is your friend!
Youtube video, 2015 Feb, Arduino COM/NAV delta prototype
http://www.youtube.com/watch?v=bROOQ42Tfqs

